
A webinar is an event that happens at fixed dates and times you choose, rather than at any free slot in your schedule. Use it for online trainings, product launches, live classes, investor roundtables and Q&A sessions. People register on the webinar page and get the joining link in their confirmation.
Create a webinar
- Open Resources, click Create Resource, and choose Webinar under Events.
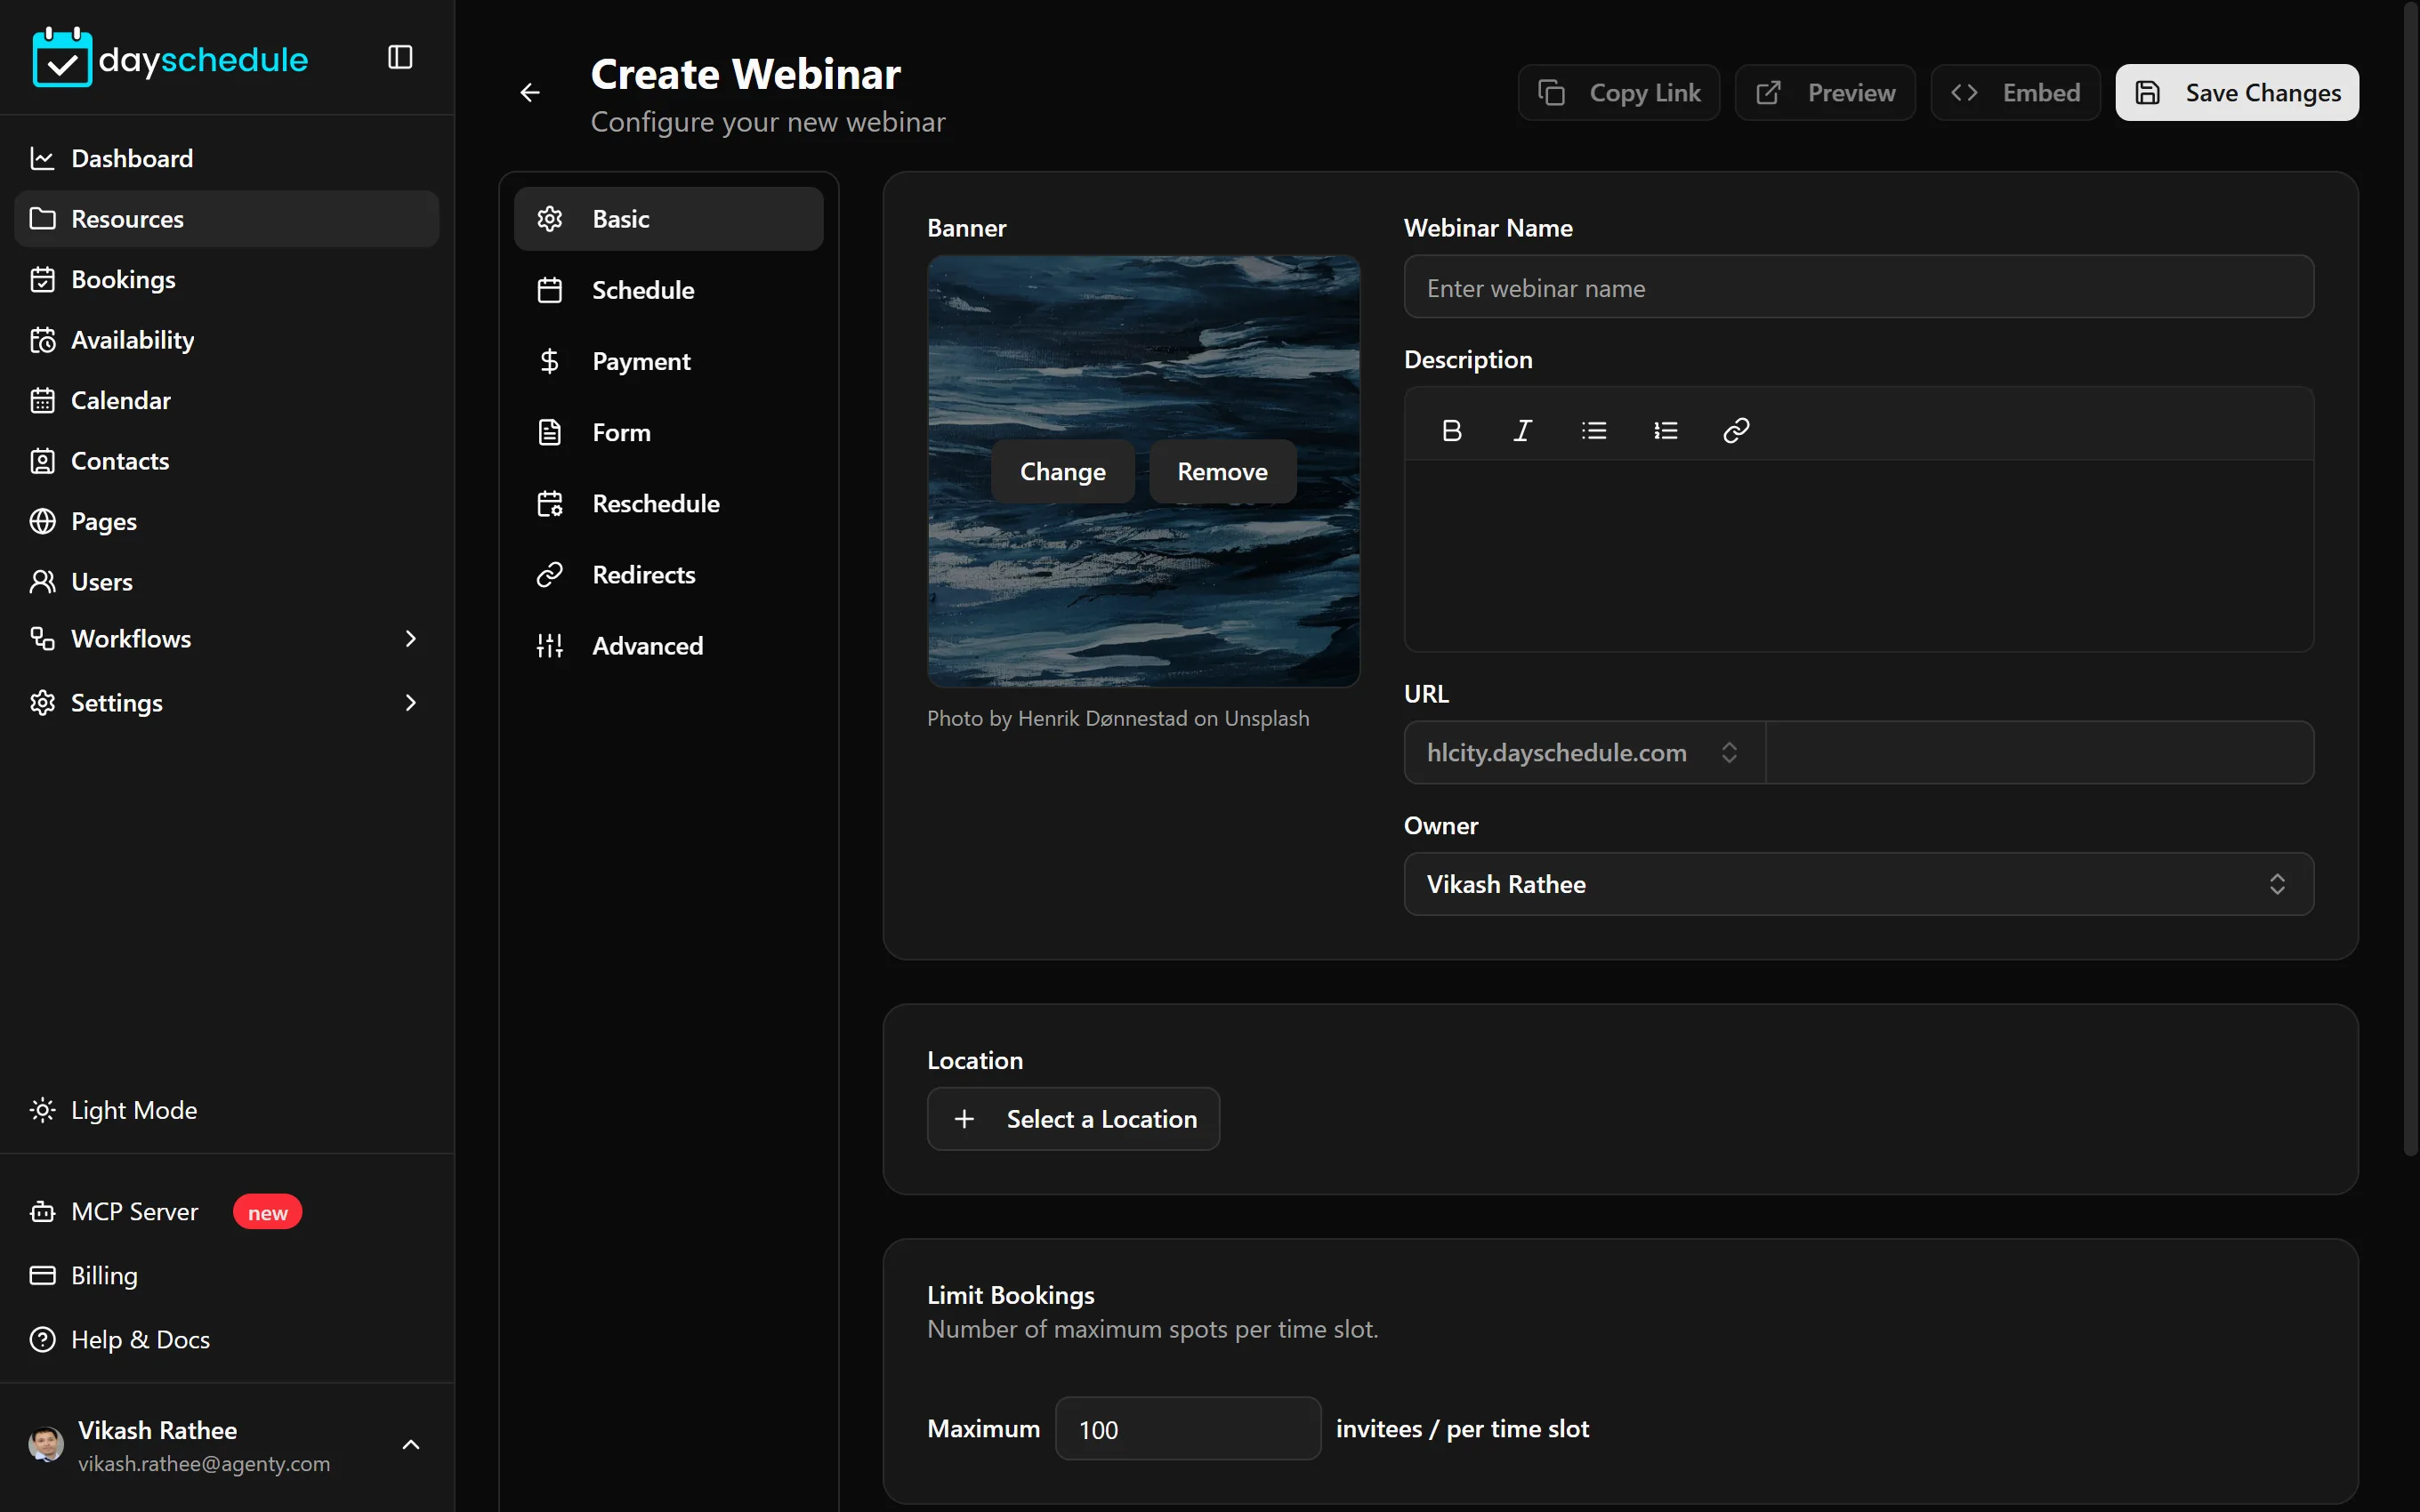
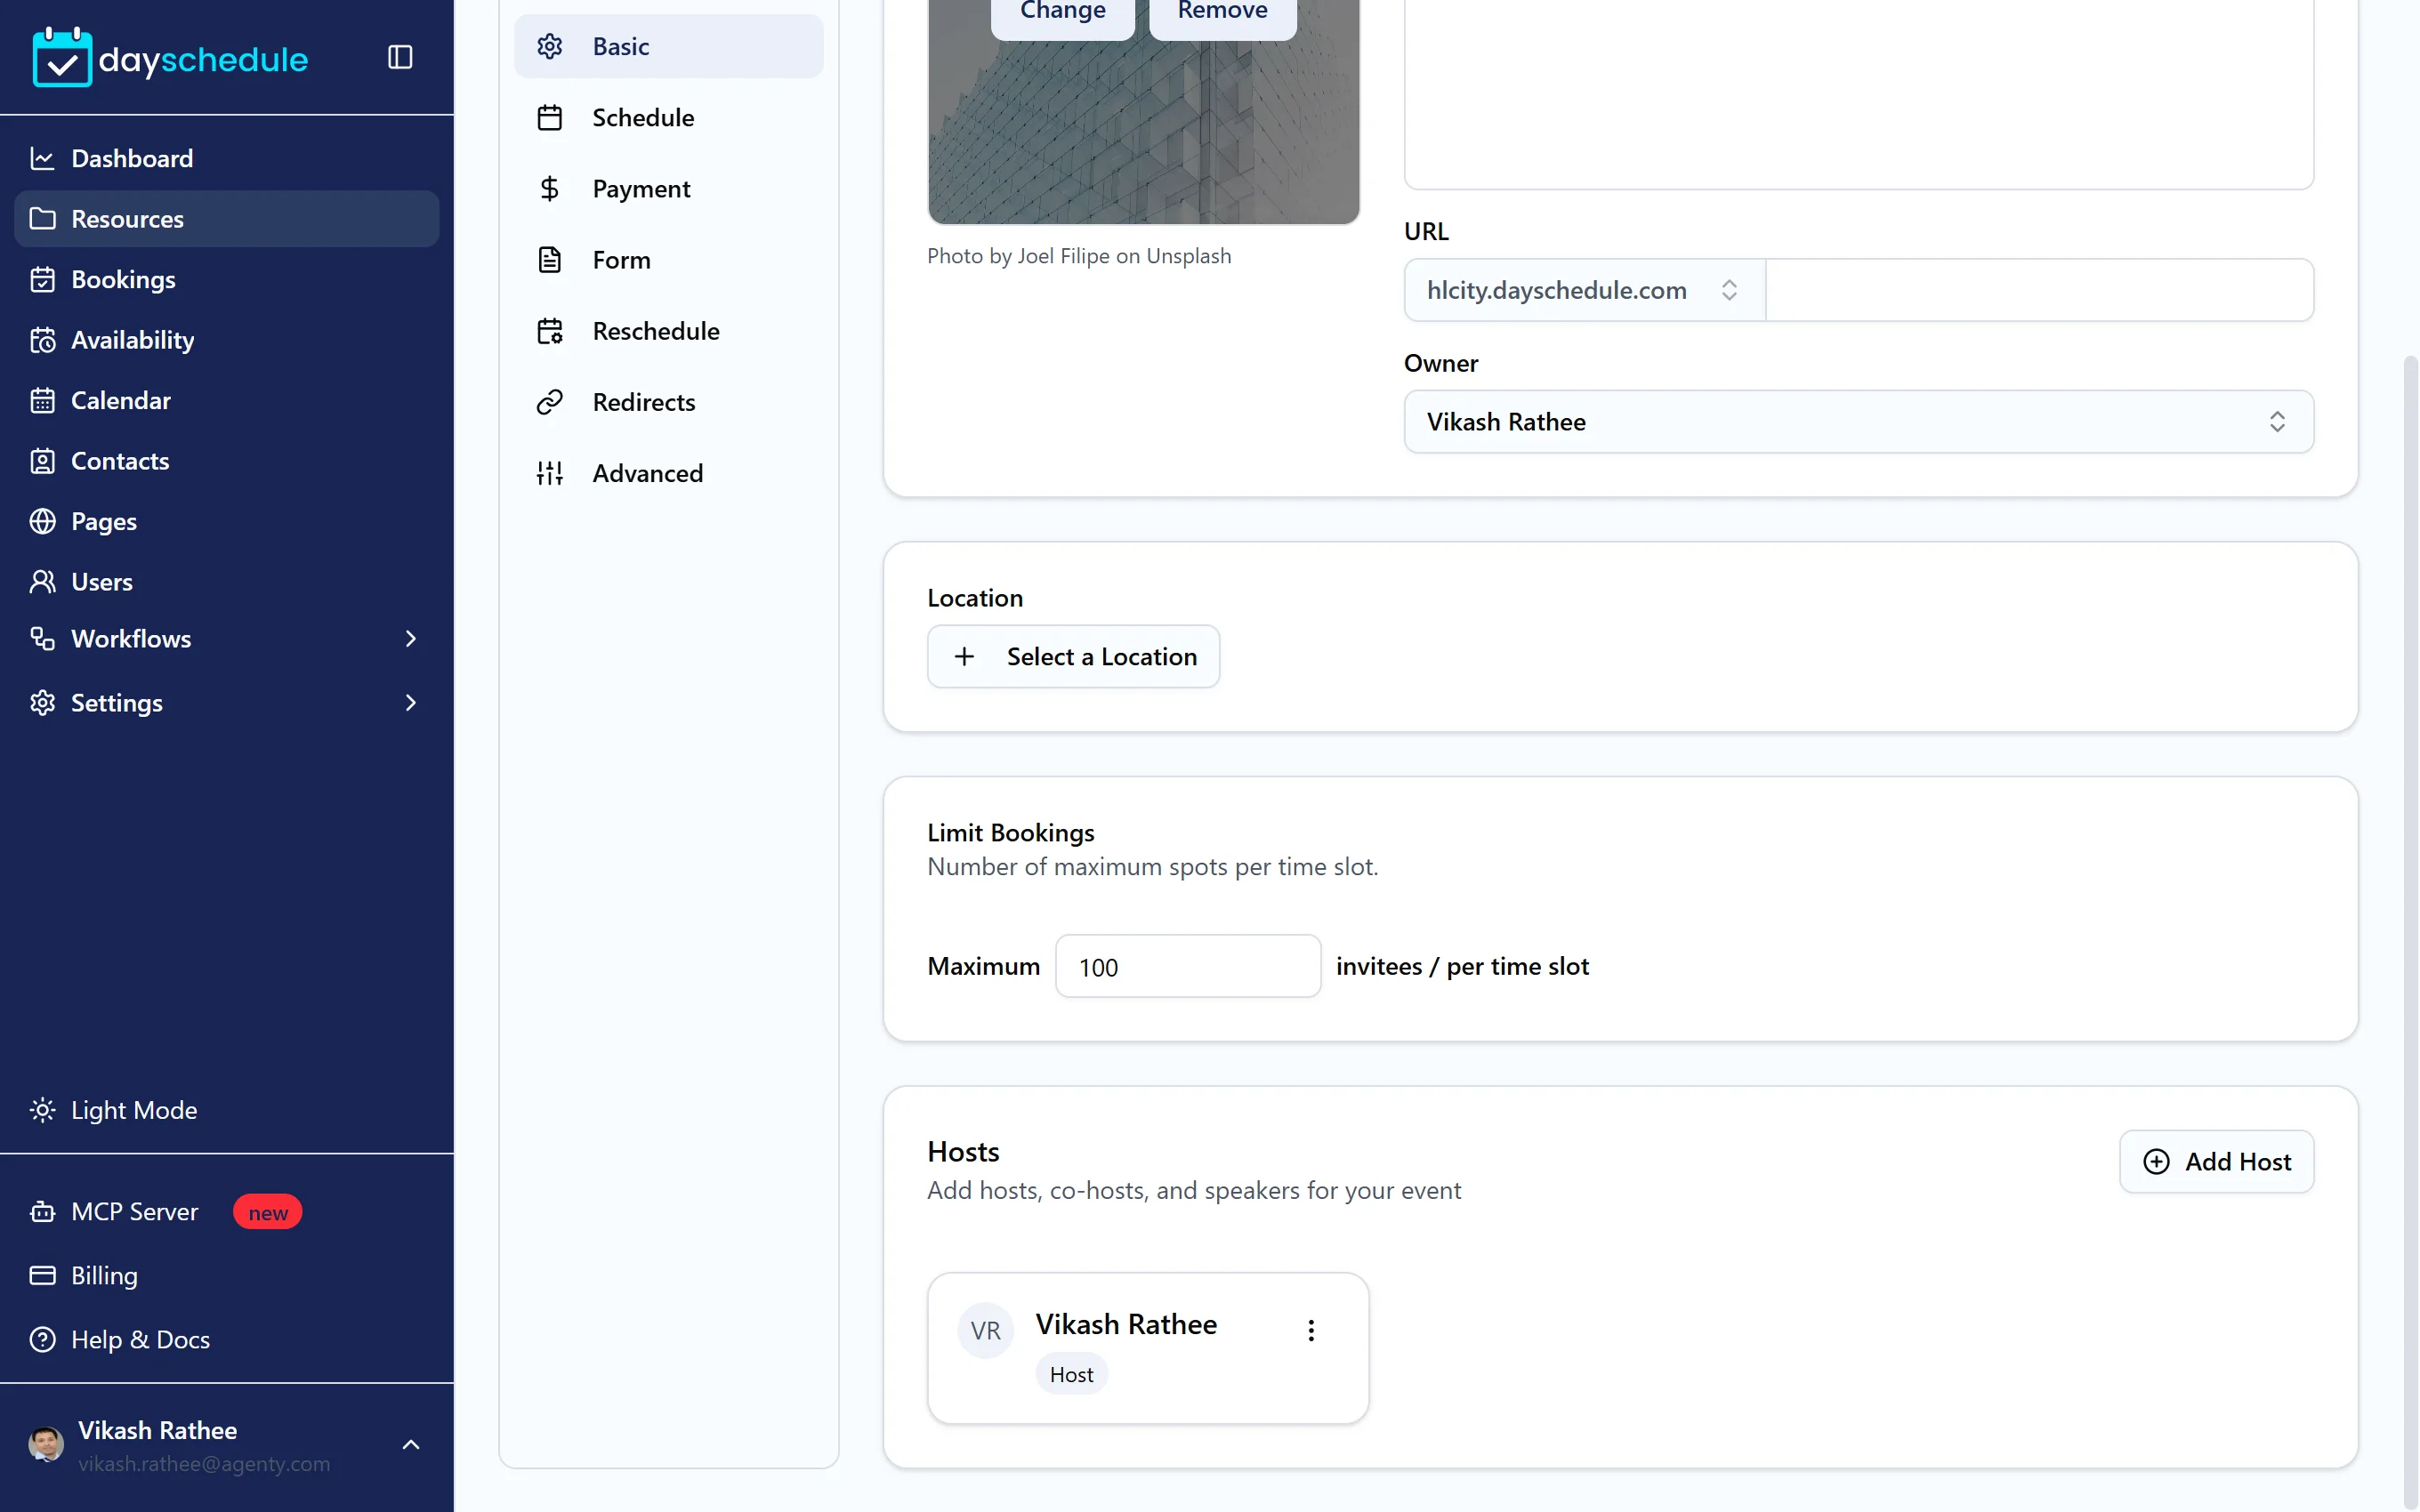
- On the Basic tab, add a banner, the Webinar Name, Description, URL, Owner and Location.
- On the Schedule tab, set the date and time.
- Click Save Changes.
Webinars are a premium resource type. See plans and billing.
Choose a banner
Click the banner area to open Choose Banner Image. Upload your own image (up to 5 MB), or browse ready-made images by category such as Tech, Music, Wellness, Birthday or Sports, and search the library.
Limit seats
Limit Bookings sets the Maximum number of invitees per time slot. Registrations close once a session is full.
Add hosts, co-hosts and speakers
Under Hosts, click Add Host for each person presenting. Enter their Name, Avatar URL, Role/Title, a short About text and Social Links, and set the Host Type to Host, Co-Host or Speaker. Hosts are shown on the webinar page so attendees know who's presenting.
Set one-time or recurring dates
On the Schedule tab, Date and Time sets when the webinar happens:
- One time runs once. Pick the Start and End date and time and the Time Zone.
- Recurring repeats weekly. Click Add Schedule for each session, choose the day, such as every Tuesday, and set the start and end time.
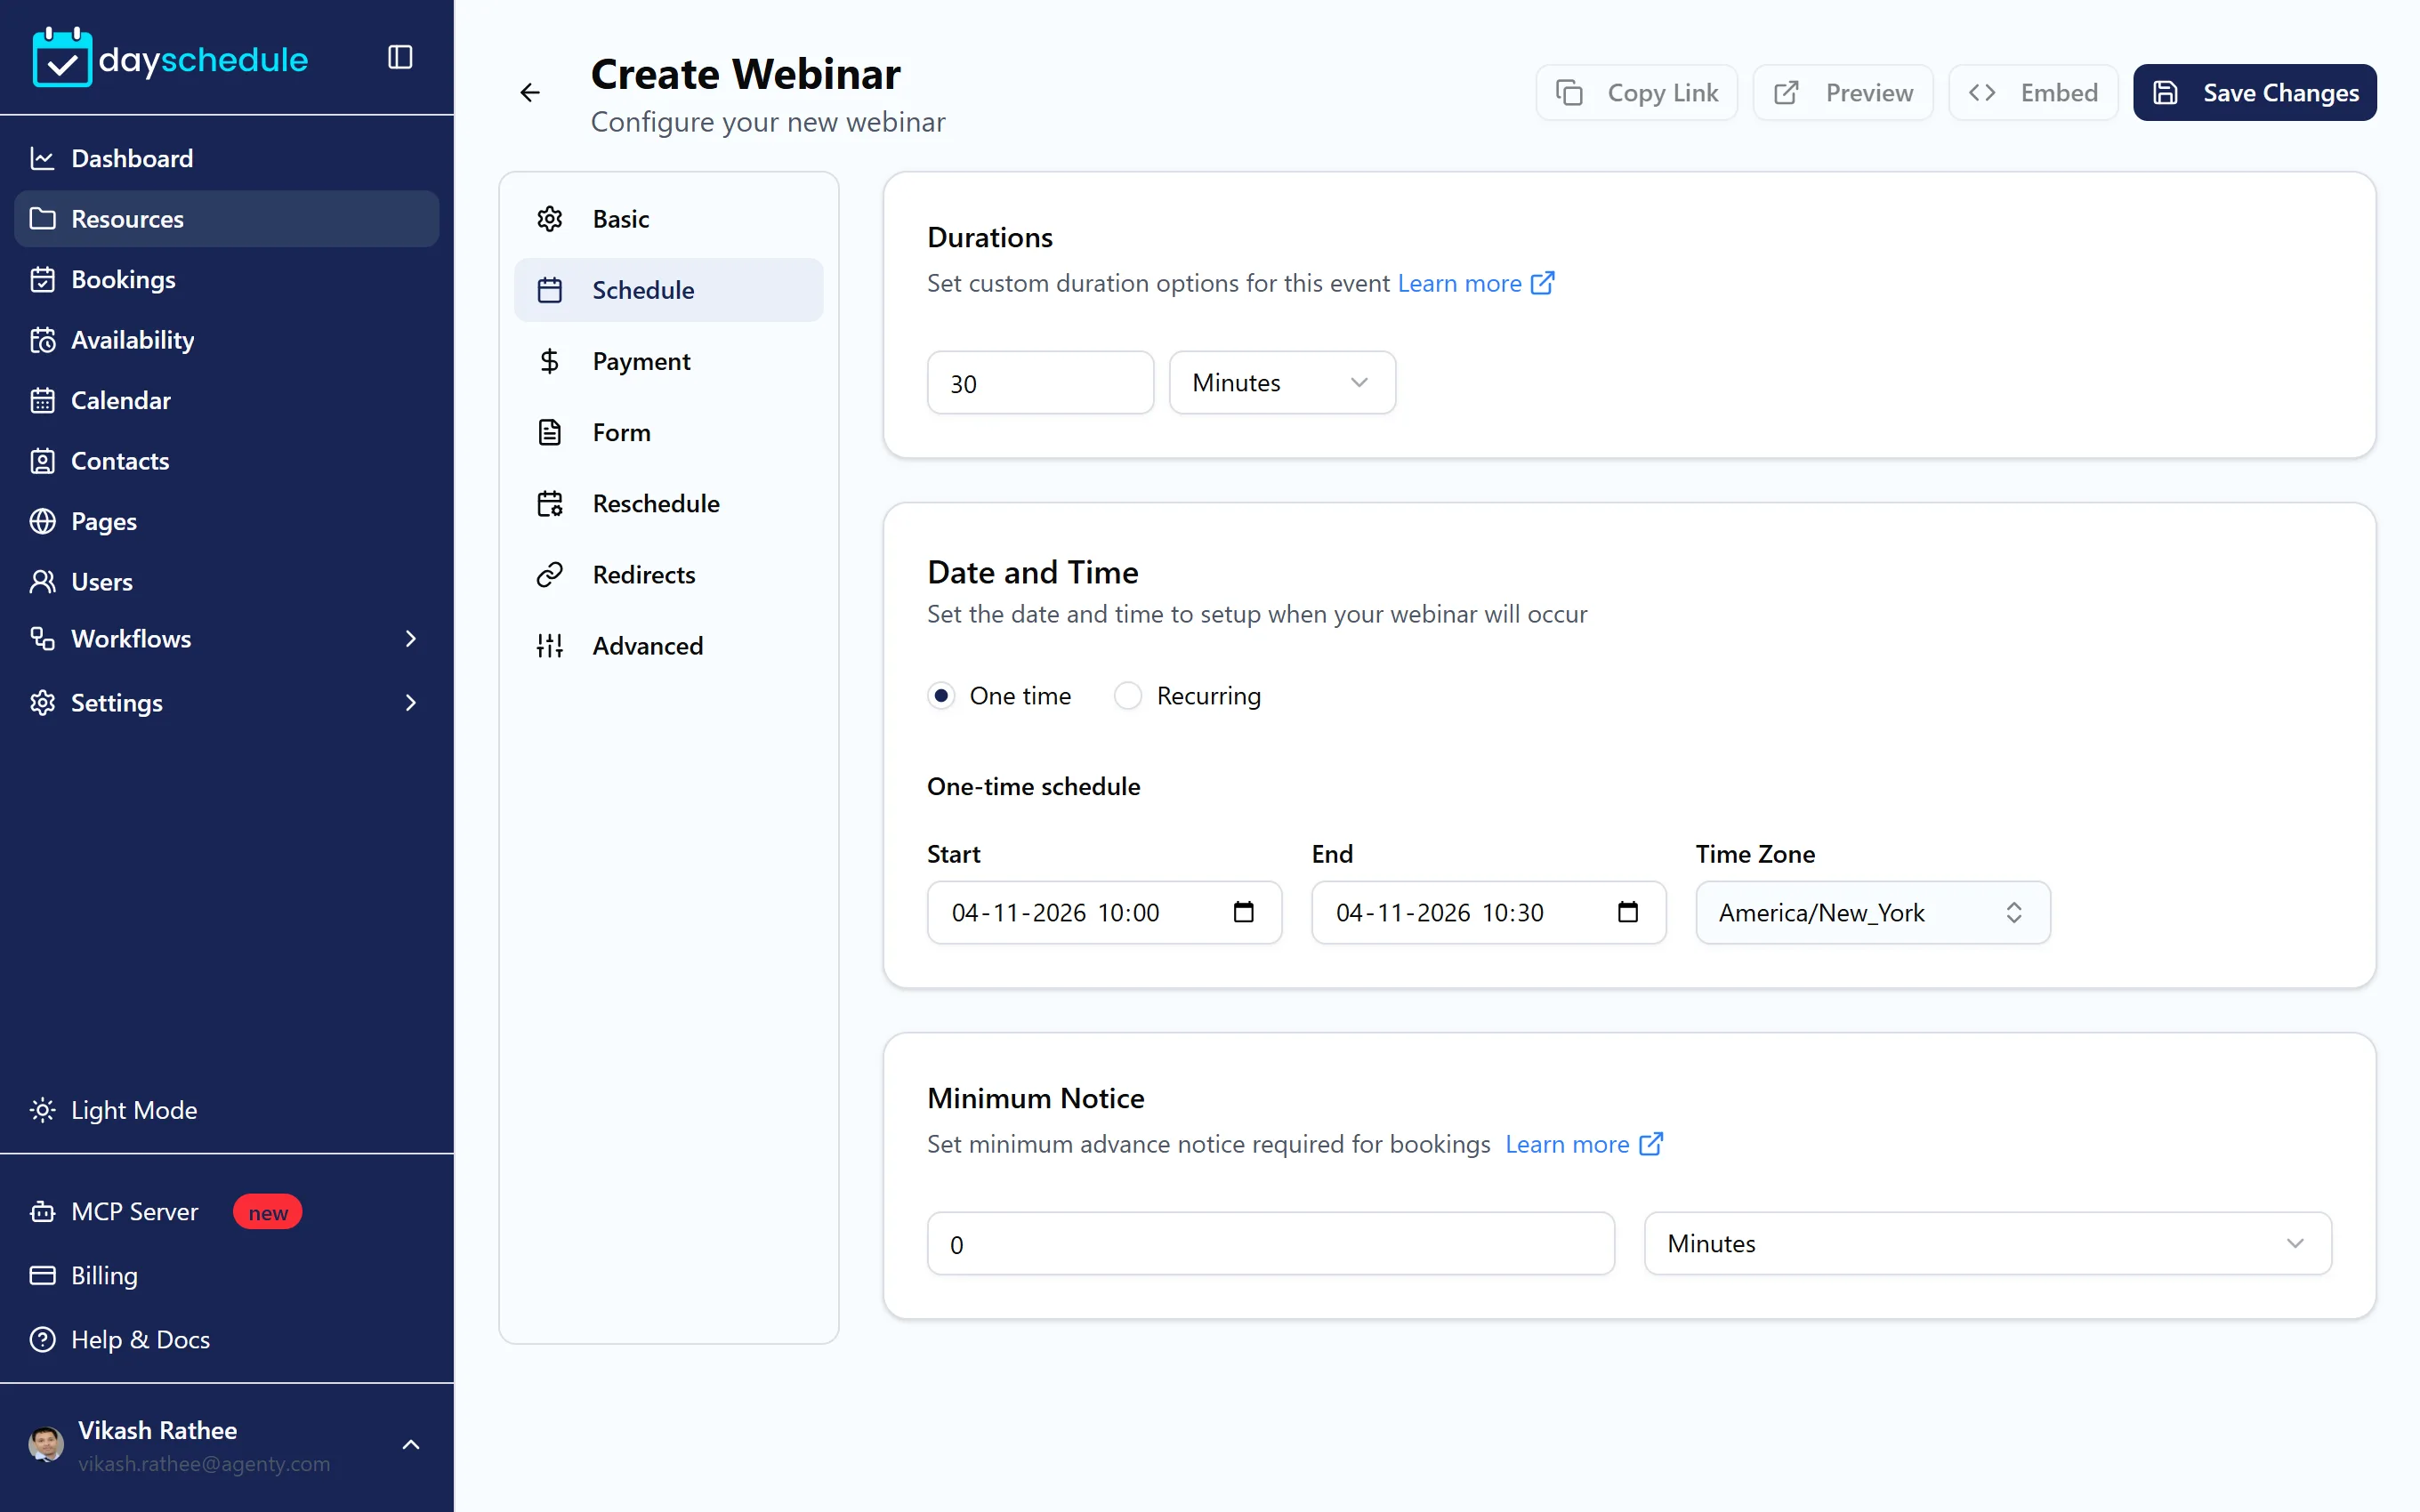
Durations and Minimum Notice work the same as for other events. See Durations, buffers and notice.
Sell tickets and collect details
- Charge for seats on the Payment tab. See Accept payments and how to monetize your webinar.
- Ask registration questions on the Form tab. See Customize the booking form.
- Send attendees to a replay page or community after they register on the Redirects tab. See Redirect after booking.
- Send reminders before the webinar starts with workflows.