
Every booking ends with a short registration form. By default it asks for a name and email, but you can ask anything you need before the meeting: a phone number, company size, the reason for the visit, or a file such as a CV or a prescription.
Edit the questions
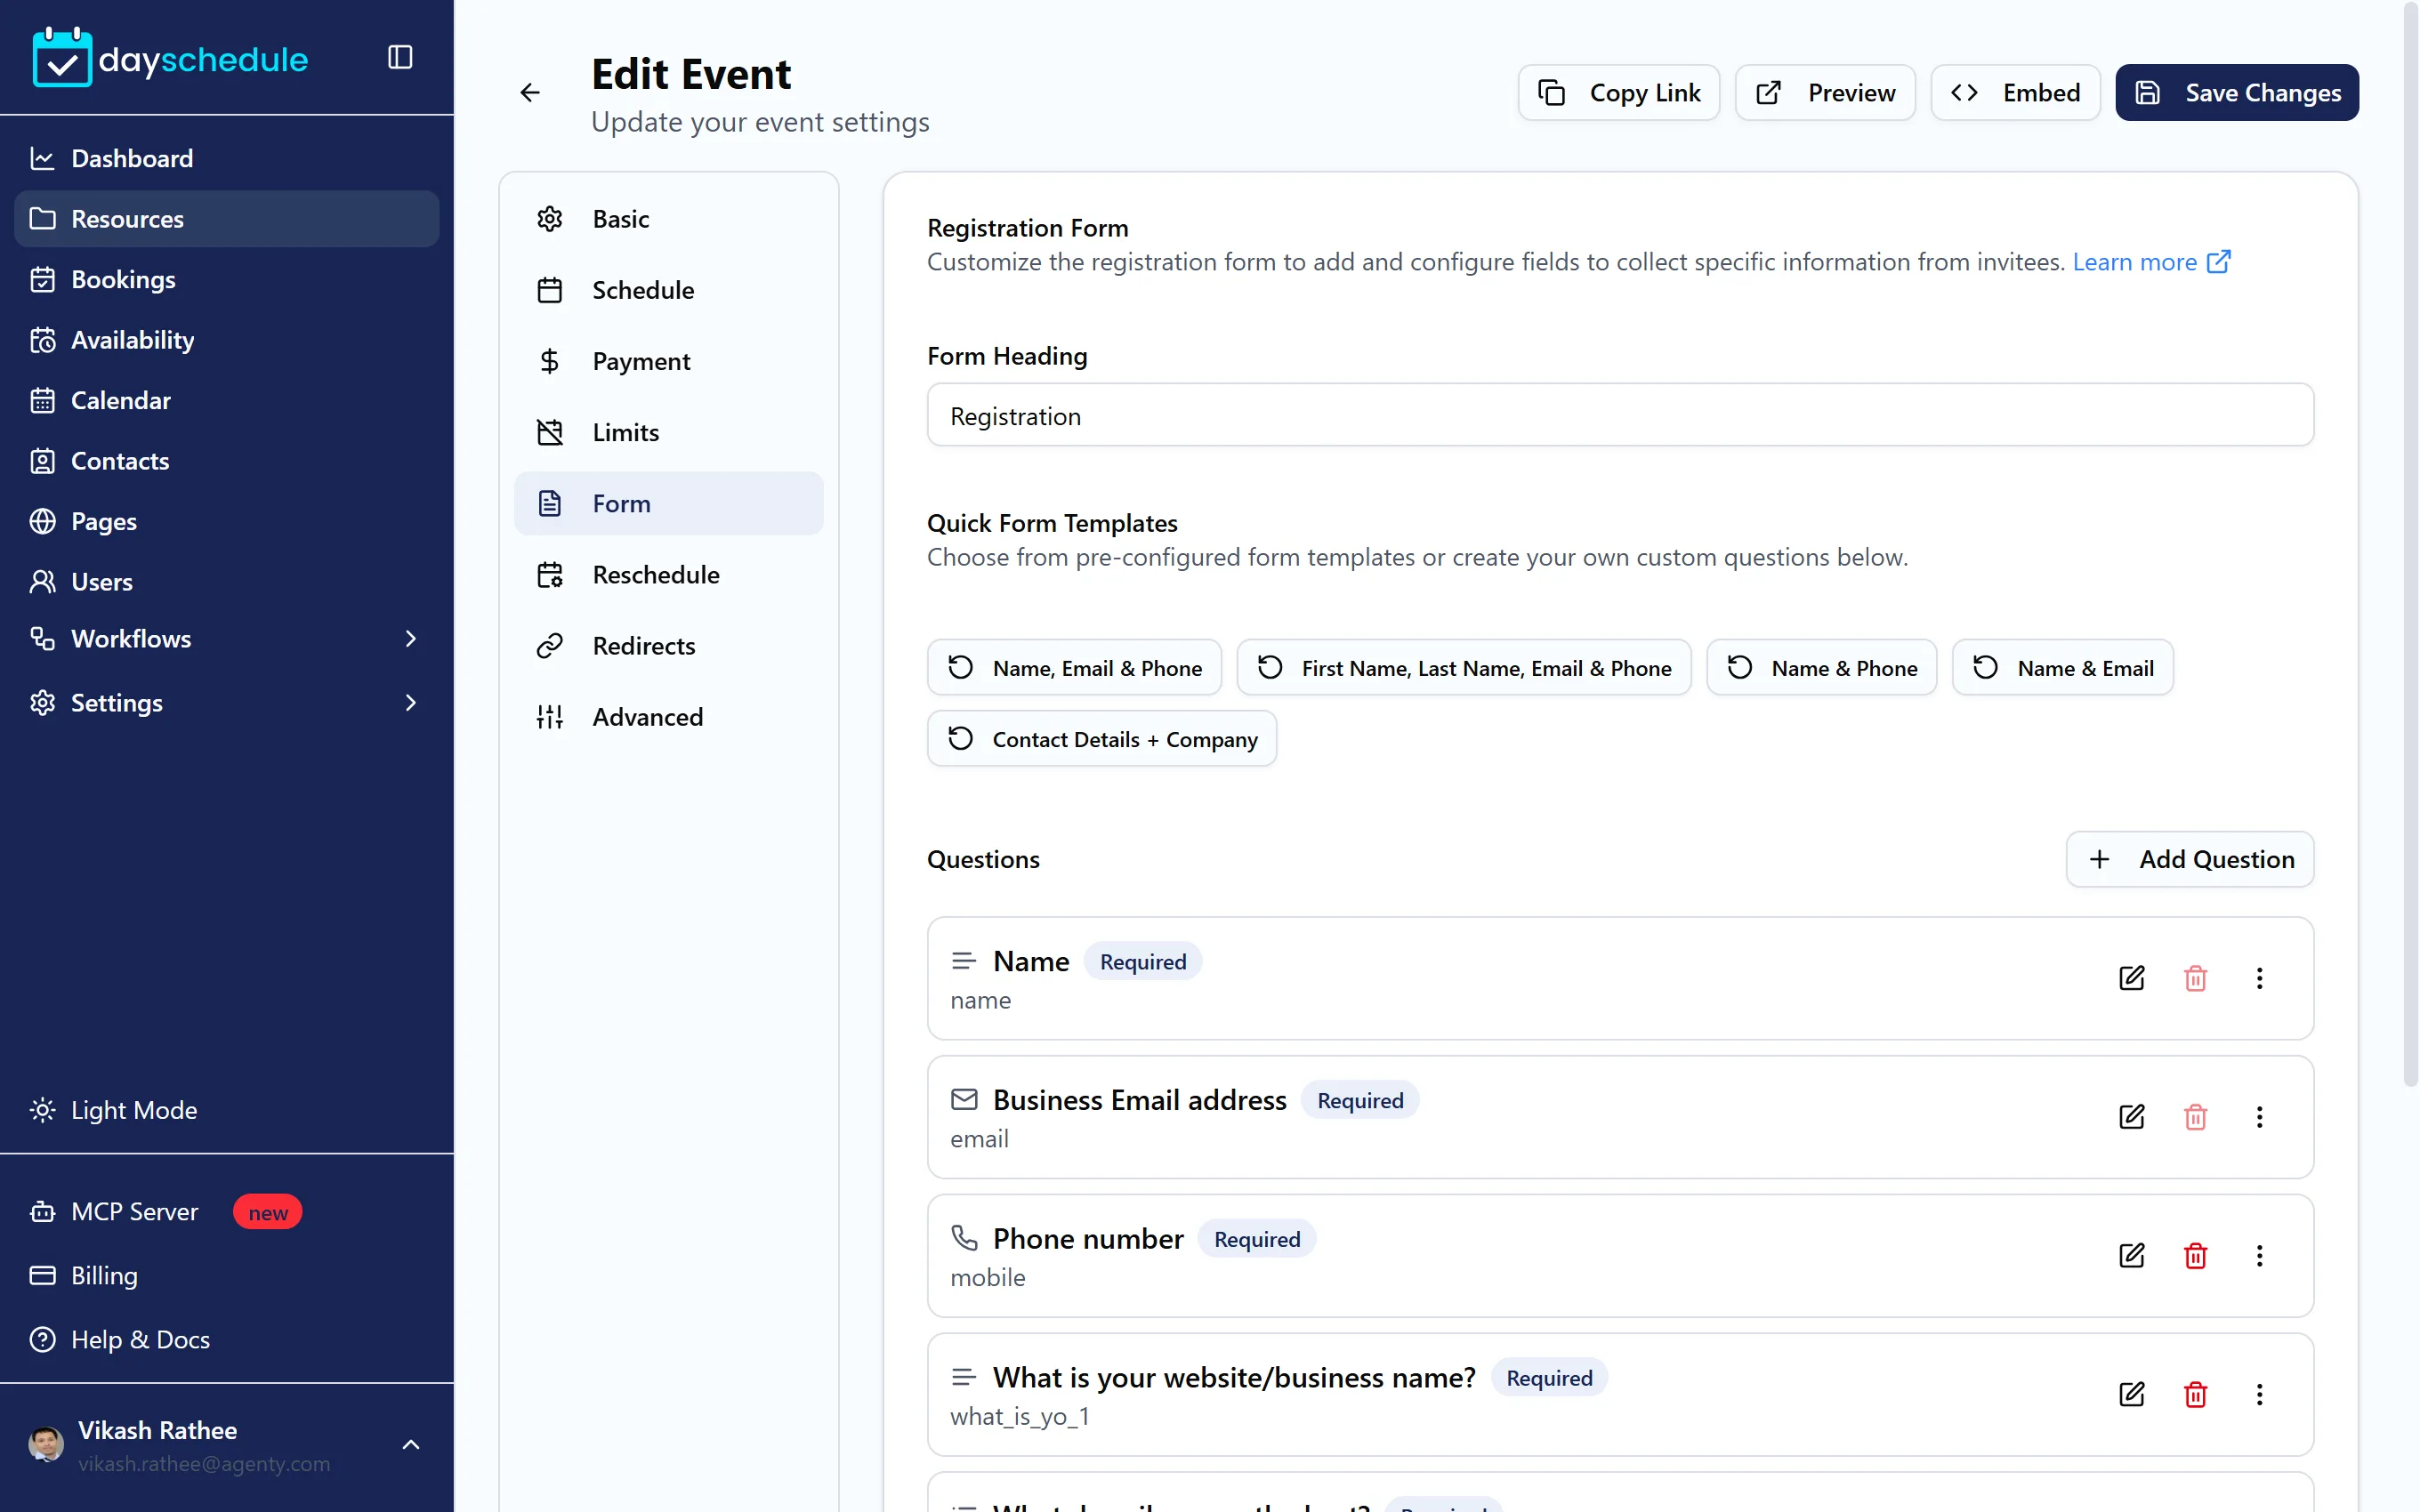
- Open the event from Resources and select the Form tab.
- Change the Form Heading if you want, for example "Tell us about your project".
- Under Questions, click Add Question, or click an existing question to edit it.
- Click Save Changes.
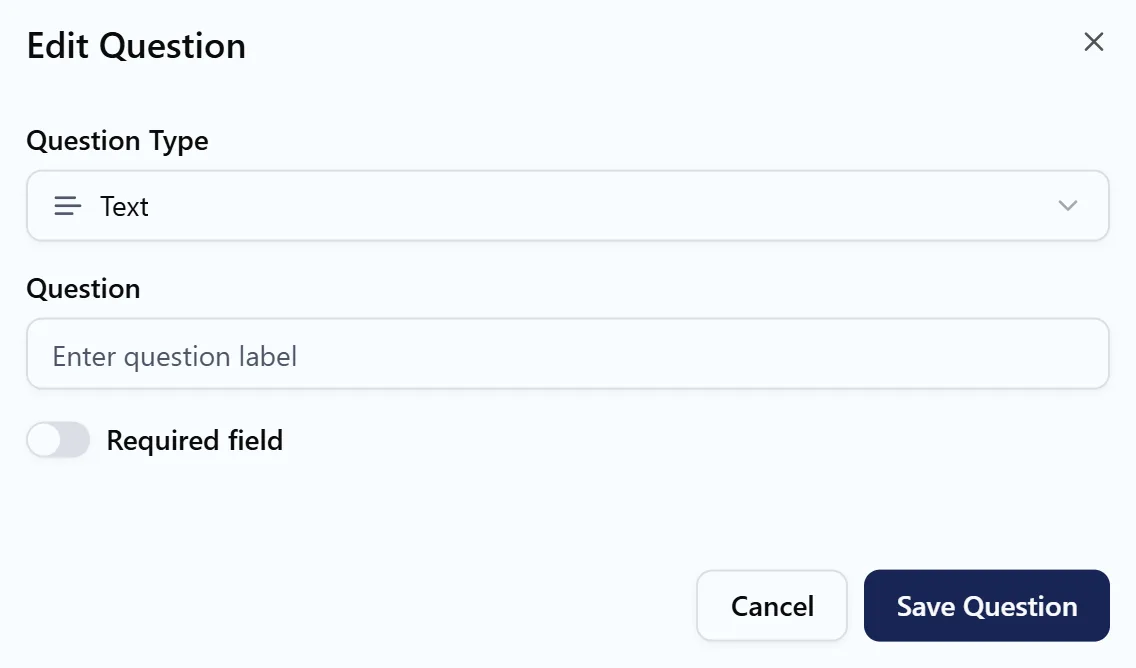
In the question dialog, choose the Question Type, enter the Question, add Options for choice fields, and tick Required field if invitees must answer it. Click Save Question.
Question types
| Type | Use it for |
|---|---|
| Text | Short answers like company name or job title |
| Multiline text | Longer answers like "What would you like to discuss?" |
| An extra email address, with format checking | |
| Phone | A phone number for calls or SMS reminders |
| Number | Team size, number of people, age |
| Date | Date of birth, a preferred start date |
| File | Upload a document, photo or CV |
| Dropdown | One choice from a long list |
| Radio | One choice from a few options |
| Checkbox | Several choices, or a consent box |
Start from a template
Quick Form Templates replace the questions with a ready-made set in one click:
- Name, Email & Phone
- First Name, Last Name, Email & Phone
- Name & Phone
- Name & Email
- Contact Details + Company
Pick the one closest to what you need, then add your own questions below it. Name & Phone suits businesses whose customers don't use email. See create an appointment page without email address.
Reorder and use answers
Use Move up and Move down in a question's menu to change the order. The same menu has Add to Location, which adds the invitee's answer to the meeting location. Use it with a phone or address question, so the number you need to call or the address you need to visit appears with the booking.
The free plan allows up to three questions. See plans and billing.
Fill in answers for invitees
If you already know who's booking, for example from your CRM or a logged-in area of your site, pass their details in the booking link so they don't have to type them again. See pre-populate invitee information. Combine it with Skip Registration Form on the Advanced tab to confirm in one click when all required fields are passed in.
Answers appear under Additional Questions on each invitee in the booking details, and you can download them as a spreadsheet.