
Invitees can reschedule or cancel a booking themselves from the links in their confirmation email. The Reschedule tab of an event controls whether those links work and how close to the meeting they can be used.
Allow or block rescheduling
- Open the event from Resources and select the Reschedule tab.
- Turn Allow Reschedule on or off.
- When it's on, enter the notice invitees must give and choose Hours or Days. With 24 hours, an invitee can move a 10:00 Thursday meeting until 10:00 Wednesday. After that, they have to contact you.
- Add a policy description, such as "You can reschedule up to 24 hours before your appointment."
- Click Save Changes.
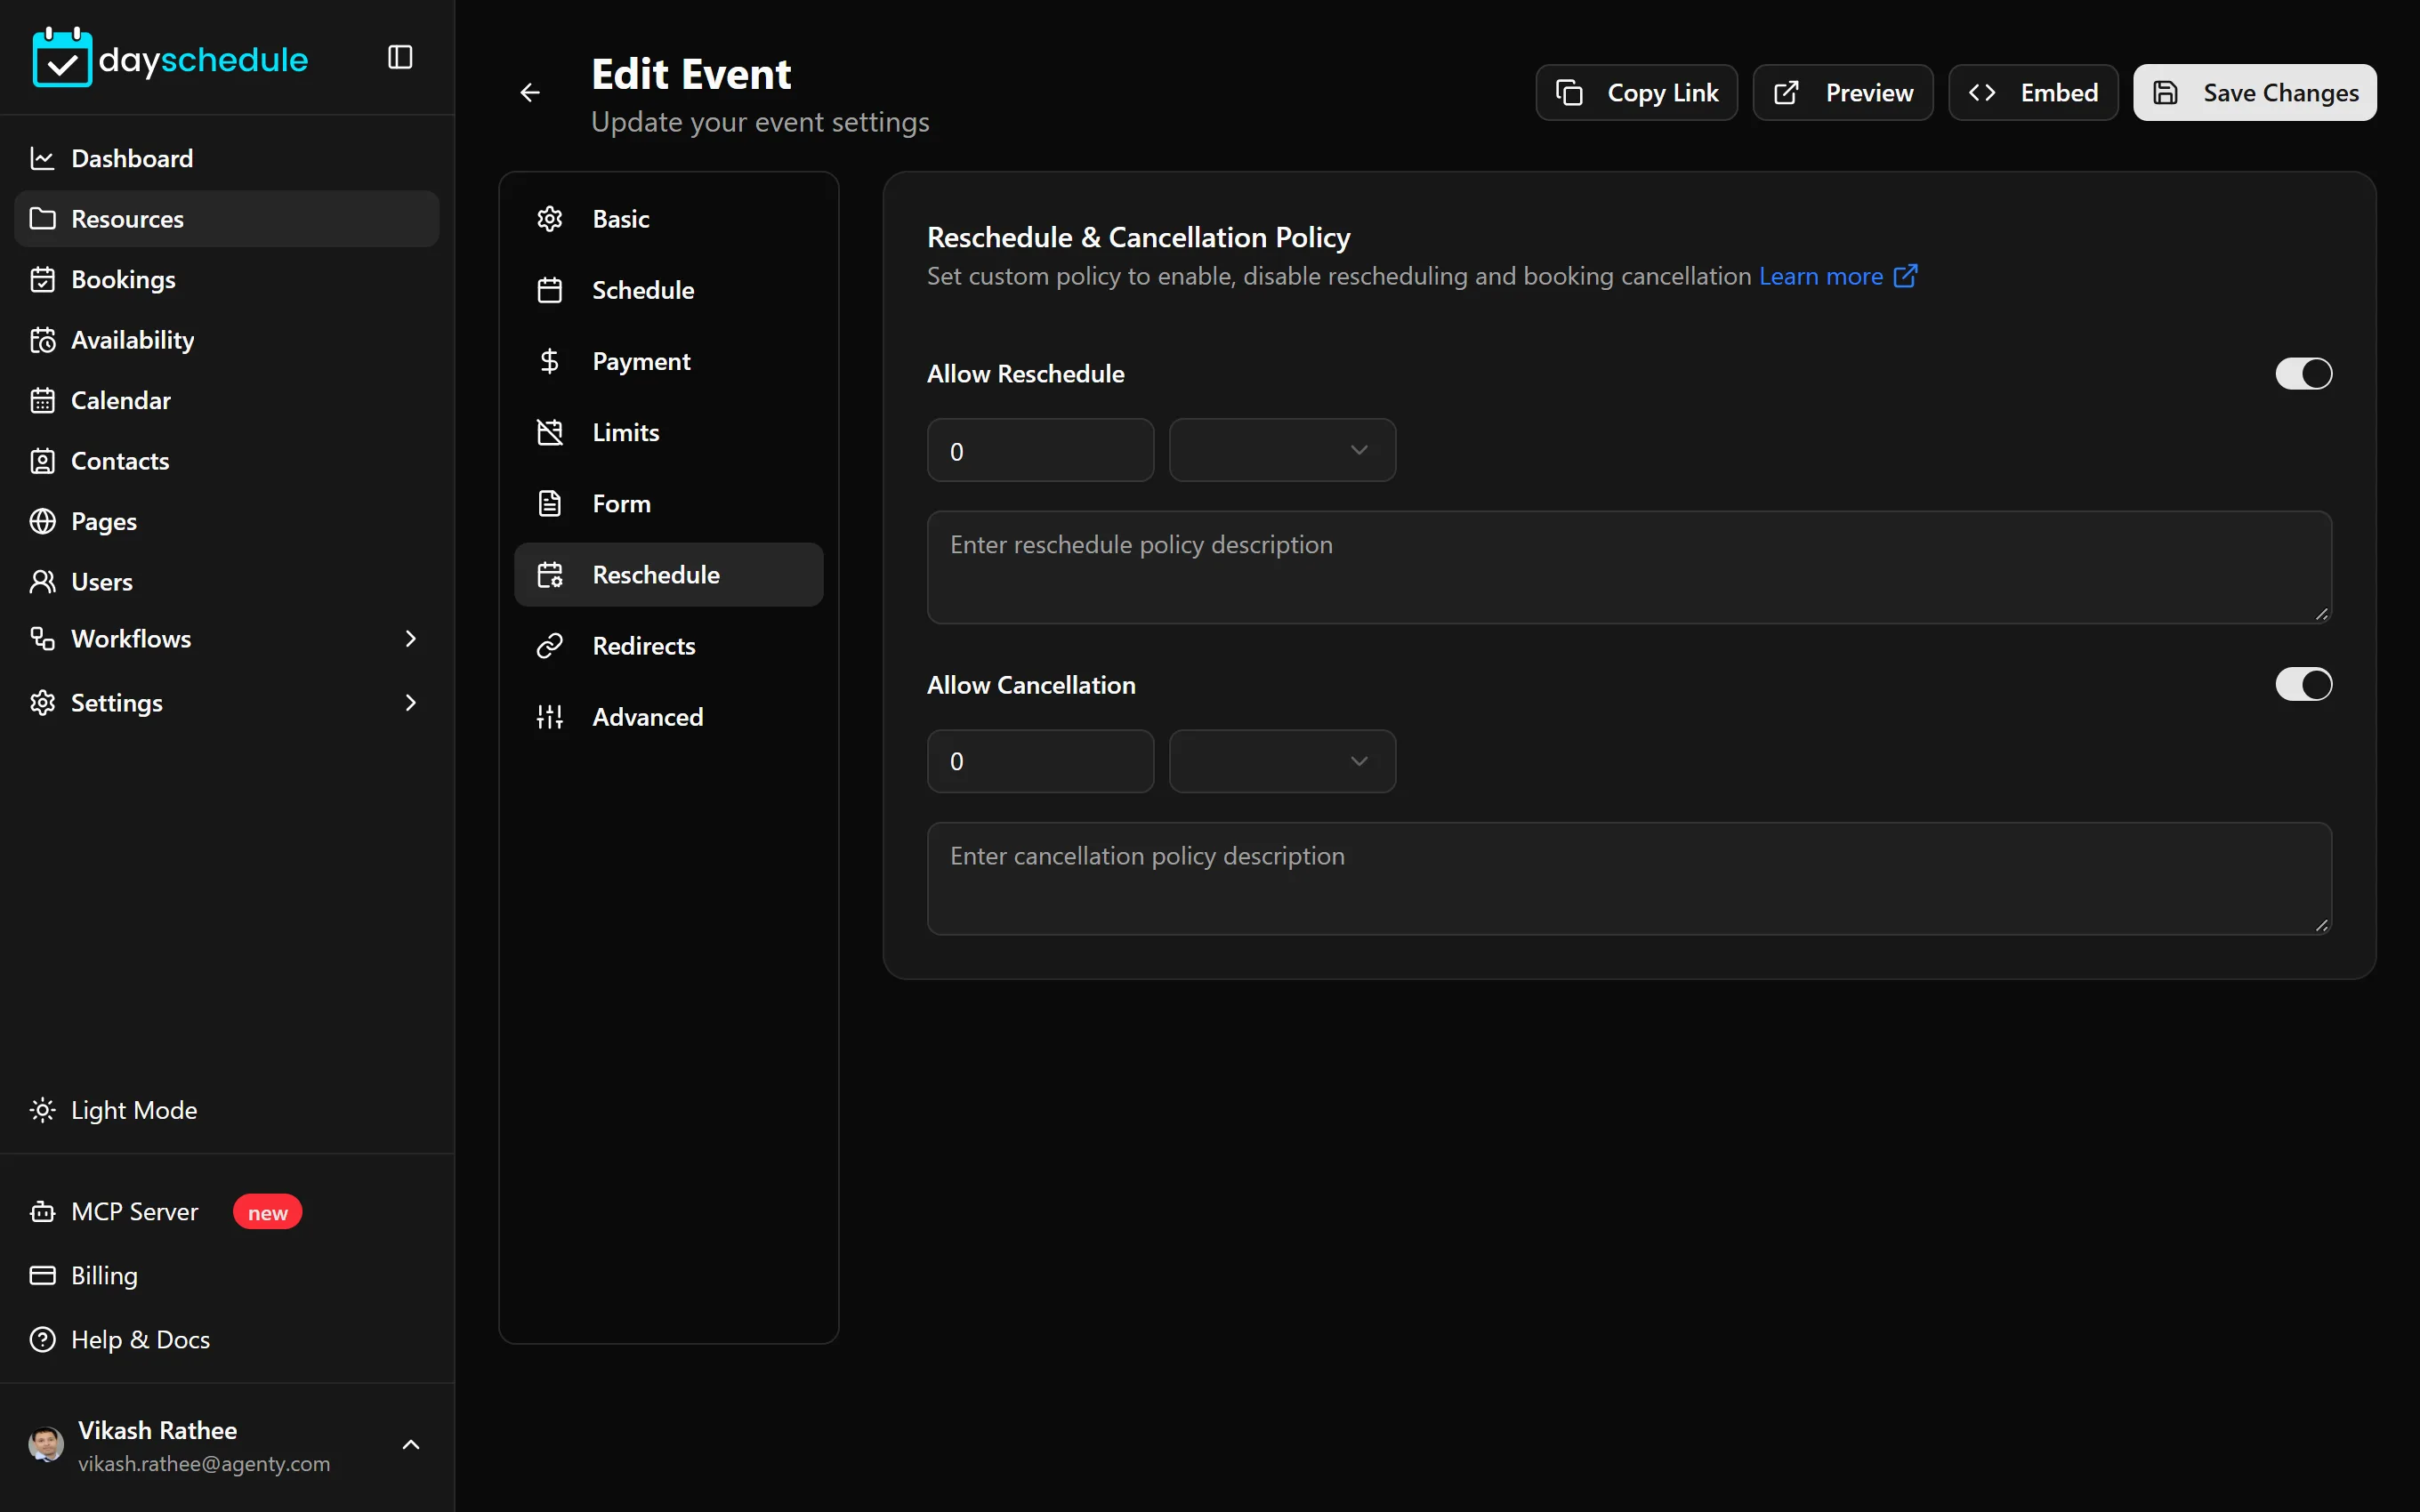
Allow or block cancellation
Allow Cancellation works the same way. Set the notice period and a description, such as "Cancellations within 48 hours are not refunded." Turn it off when every cancellation should go through you, for example for paid sessions with a strict refund policy.
When a switch is off, the tab shows "Reschedule is currently disabled" or "Cancellation is currently disabled", and invitees can't make that change themselves. You and your team can still reschedule or cancel any booking from the dashboard. See Reschedule, cancel or mark a booking as no-show.
What invitees see
Invitees open the reschedule or cancel link from their confirmation email or calendar invite. Rescheduling shows your booking page with the free times, and cancelling asks for a reason. Both send an updated notification to everyone on the booking and, if you use workflows, can trigger the Event Rescheduled and Event Canceled workflows.